
- How to Transplant a Jade Plant: Weeknight-Ready Root Success - June 20, 2026
- How to Conserve Flowers: Pro Tips for Long-Lasting Blooms - June 20, 2026
- Do Praying Mantis Eat Butterflies: Unveiling Predatory Behaviors in Your Garden - June 20, 2026
The best time to plant tulip bulbs in Pennsylvania is in the fall, from September to November.
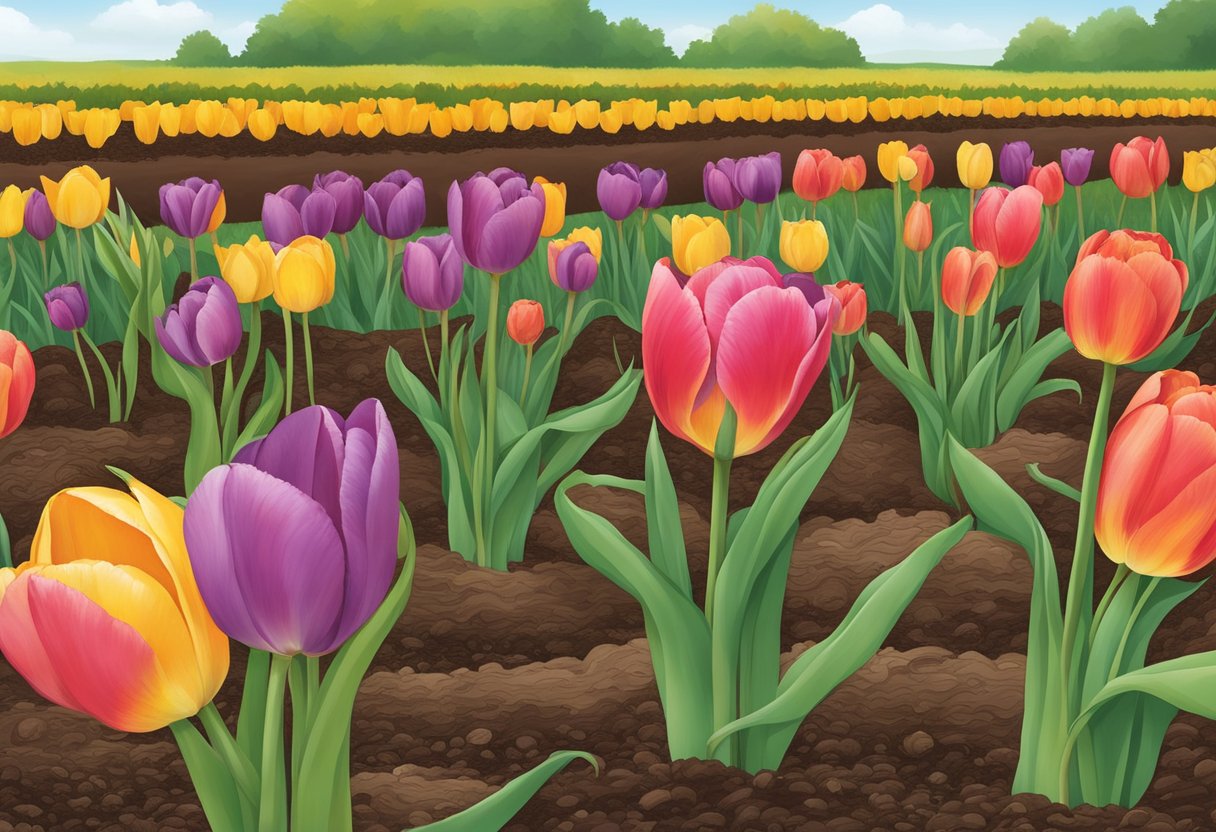
Planting tulip bulbs in Pennsylvania is one of my favorite fall activities. Amid the cooling weather and the changing leaves, I find joy in getting my garden ready for a stunning display come spring. Knowing when to plant is crucial so your tulips can bloom beautifully.
Tulips need to be planted when the soil has cooled, typically 6-8 weeks before the first frost. For me, checking the soil temperature to ensure it’s around 55 degrees Fahrenheit is an essential step. This allows the bulbs to establish roots before the ground freezes, giving them a good head start.
For anyone gardening in Pennsylvania, it’s helpful to know your hardiness zone. For example, in Zone 5, aim to plant around mid-October. Those in Zones 6 and 7 might plant a bit later. Timing it right ensures your tulips will bloom into a vibrant tapestry of colors next spring, making your fall effort truly worth it.
Selecting the Right Tulip Bulbs
To ensure vibrant tulip blooms in Pennsylvania, it’s important to select bulbs suitable for the local climate. Below are key considerations for choosing the best tulip bulbs, focusing on variety, hardiness, and quality.
Varieties and Hardiness Zones
Understanding the various tulip varieties and their compatibility with USDA hardiness zones is essential. Pennsylvania predominantly falls within zones 5-7. This means selecting bulbs that can thrive in these zones is crucial.
For instance, Darwin Hybrid Tulips are known for their large blooms and durability in zones 5-7. Species Tulips, on the other hand, offer unique varieties that often return year after year, making them ideal for perennial gardens.
When selecting tulip bulbs, pay attention to their designated bloom times. Early, mid, and late spring varieties can help you spread out flowering periods to enjoy blooms over several weeks.
Understanding Tulip Bulb Quality
Selecting healthy bulbs is paramount for beautiful spring flowers. When purchasing bulbs, assess their firmness. Firm bulbs are healthy, whereas soft or mushy bulbs are likely diseased or rotten.
Avoid bulbs with visible mold or damage. Healthy tulip bulbs should have an intact, papery outer layer. Larger bulbs often produce bigger and more vigorous flowers, so opt for the biggest bulbs within your budget.
When handling bulbs, store them in a cool, dry place until planting. Keeping them away from moisture and extreme temperatures ensures they remain viable for planting.
Pay attention to certified organic bulbs if you prefer eco-friendly gardening. These bulbs are grown without synthetic pesticides, making them a better choice for sustainable gardens.
Preparing the Garden for Planting
Getting your garden ready for planting tulip bulbs in Pennsylvania involves a few key steps. This includes preparing the soil adequately and ensuring proper planting techniques to encourage healthy growth.
Soil Preparation and Nutrients
The soil in your garden needs to be well-drained to avoid waterlogging. Tulip bulbs do not thrive in soggy conditions, which can cause rot.
💥 Well-drained soil is crucial.
To improve drainage, incorporate organic matter, such as compost, into the soil. Compost not only enhances drainage but also enriches the soil with necessary nutrients. For best results, I suggest mixing about 3-4 inches of compost into the top 10-12 inches of soil.
💥 Add compost for nutrient-rich soil.
Check the soil’s pH level; tulips prefer slightly acidic to neutral soil (pH 6.0-7.0). Adjust the pH if necessary by adding lime to raise it or sulfur to lower it.
Proper Planting Techniques
Planting tulip bulbs correctly is essential for their growth and bloom. First, choose a sunny spot in your garden—a place where they’ll get at least 6 hours of sunlight daily.
💥 Tulips need sunlight.
Next, dig holes that are about 6-8 inches deep, which is roughly three times the height of your bulbs.
Depth matters: 6-8 inches deep
Place bulbs in the holes with the pointy end up. Spacing is important—set each bulb about 4-6 inches apart to give them room to grow without competing for nutrients.
After placing each bulb, cover with soil and gently tamp it down. Water the area thoroughly to help the bulbs set in.
🚰 Regular watering is key to root establishment.